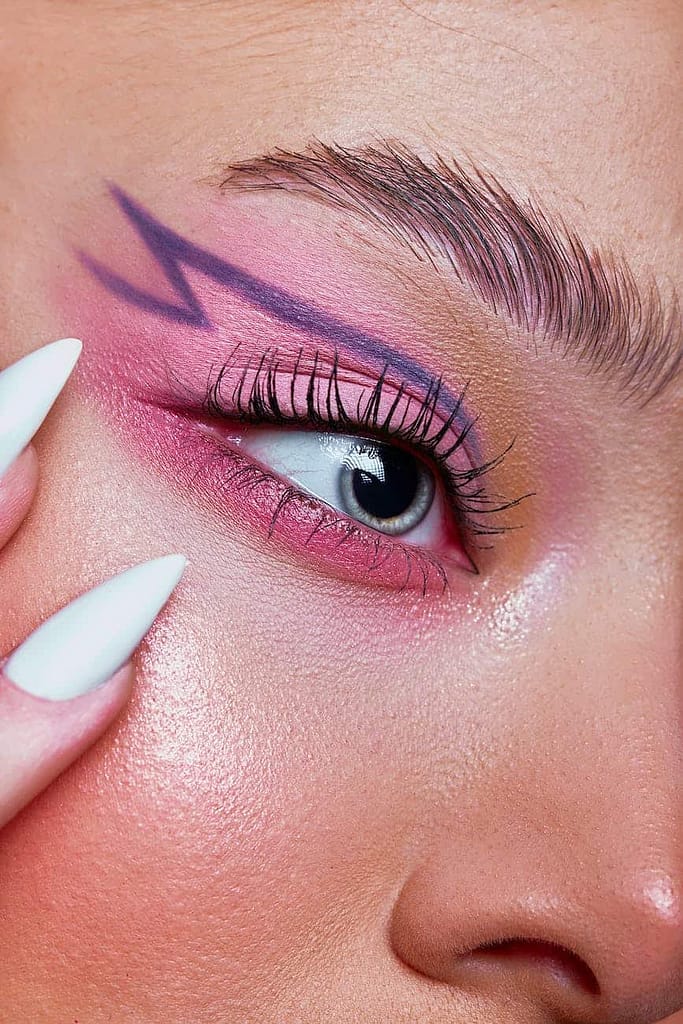
Makeup has the incredible power to enhance our features and boost our confidence. However, if you have oily skin, achieving a long-lasting, flawless look can be a challenge. Oily skin tends to produce excess sebum, which can lead to makeup meltdown and a shiny complexion. Fear not, as we’ve crafted a comprehensive step-by-step tutorial to help you master the art of makeup application for oily skin. Follow these expert tips and tricks to achieve a matte, beautiful finish that stays put all day.
Step 1: Prep and Prime A successful makeup application starts with a clean canvas. Begin by cleansing your face with a gentle, oil-free cleanser to remove excess oil and impurities. Follow up with a lightweight, oil-free moisturizer to keep your skin hydrated without adding extra shine.
Once your skincare routine is complete, apply a mattifying primer specifically designed for oily skin. This step creates a smooth base and helps control excess oil throughout the day. Focus on the T-zone, where oil tends to accumulate the most.
Step 2: Choose the Right Foundation Selecting the right foundation is crucial for oily skin. Opt for an oil-free, long-wearing, and matte foundation formula. Using a damp makeup sponge or a foundation brush, blend the product evenly across your face, starting from the center and working your way outwards.
For areas with more oil, consider using a matte, full-coverage concealer to provide extra coverage without caking. Be sure to blend well for a seamless finish.
Step 3: Set with Powder Setting your foundation is essential to control excess shine. Choose a translucent, oil-absorbing powder to set your makeup. Gently press the powder onto your skin using a fluffy brush, concentrating on the areas prone to oiliness, like the forehead, nose, and chin.
Step 4: Eyes and Brows For oily eyelids, it’s crucial to start with an eyeshadow primer to prevent creasing. Opt for matte eyeshadows and avoid creamy or oily textures. Blend the eyeshadow carefully and avoid heavy layers.
When it comes to eyebrows, use a waterproof and smudge-proof eyebrow pencil or powder to define and shape your brows. This ensures your brows stay put throughout the day.
Step 5: Blush and Contour Matte blush and contour products work best for oily skin. Apply blush with a light hand to the apples of your cheeks and blend well. For contouring, focus on the hollows of your cheeks, jawline, and sides of your nose to add dimension.
Step 6: Lips Before applying lipstick, use a lip primer to create a smooth base. Choose long-wearing and matte lip products to prevent smudging and feathering. Consider using a lip liner to define your lips and enhance the longevity of your lip color.
Step 7: Set Your Makeup To ensure your makeup stays in place all day, use a setting spray designed for oily skin. Hold the spray at arm’s length and mist it evenly over your face.
Bonus Tips:
- Blotting Papers: Keep oil-absorbing blotting papers handy throughout the day to blot away excess oil without disturbing your makeup.
- Touch-Up Kit: Create a mini touch-up kit with a compact powder, blotting papers, and a small brush for on-the-go touch-ups.
- Avoid Heavy Layers: Instead of piling on more makeup, opt for thin layers and build coverage gradually.
Conclusion: Mastering the art of makeup application on oily skin requires the right products, techniques, and a bit of patience. By following this step-by-step tutorial, you can achieve a flawless, matte finish that lasts all day. Remember, the key is in the preparation, choosing the right products, and blending with precision. Embrace your oily skin and let your makeup shine – without the excess oil!


